


Halloween Ghosts
Making Ghosts from Clay
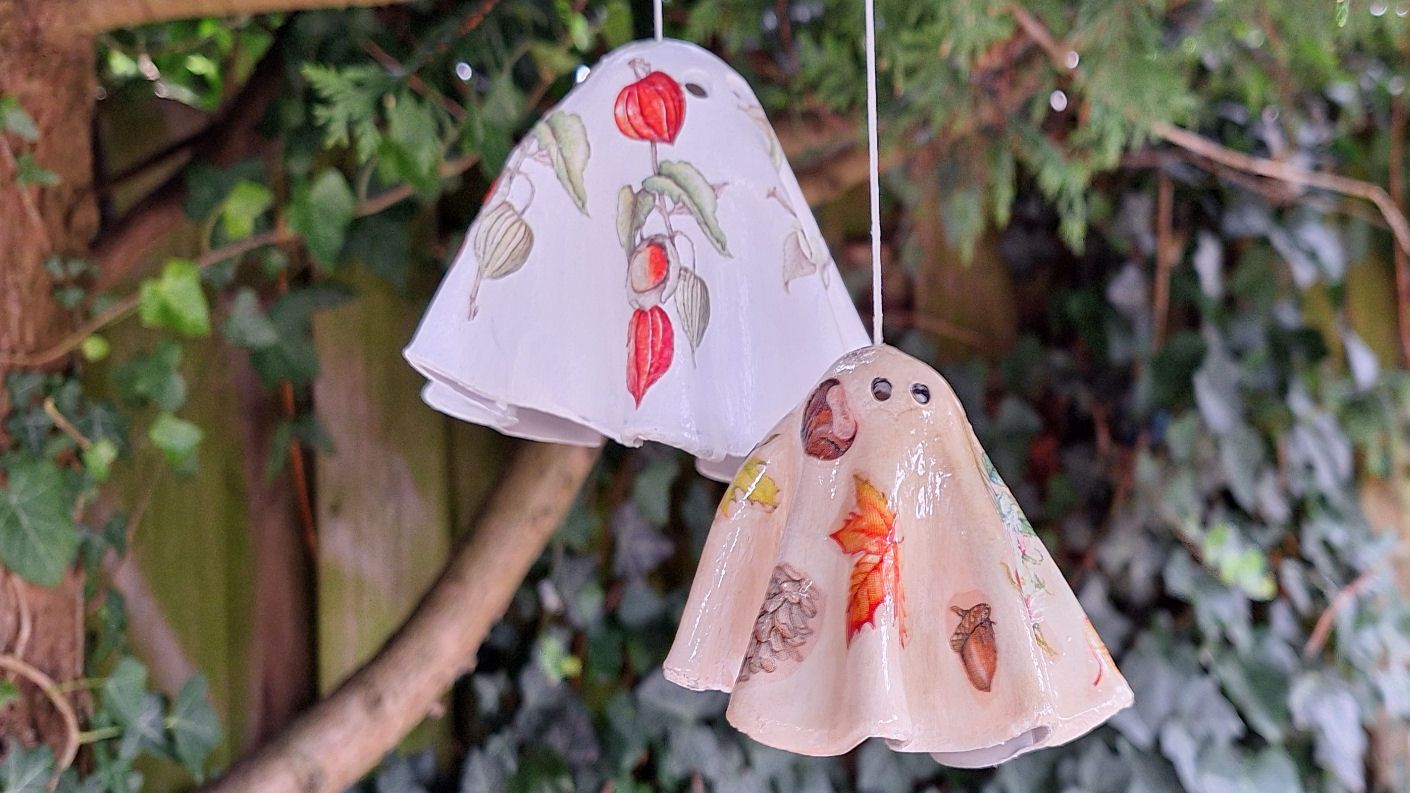
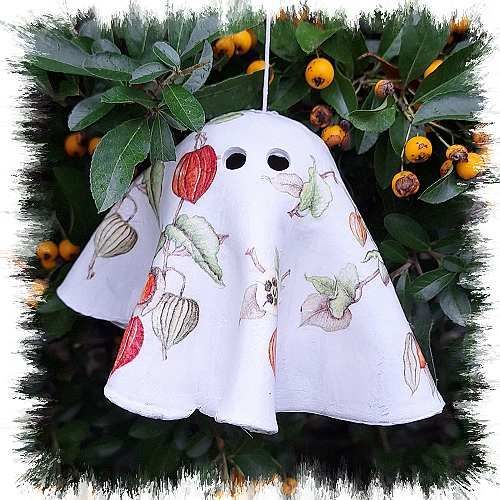
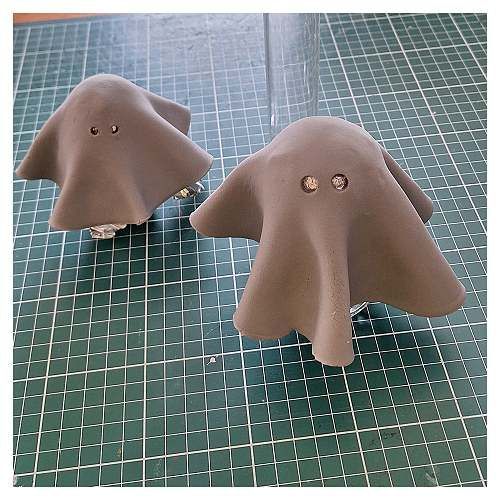
Cute, adorable ghosts made from clay.
They're so easy to make, and they're so much fun to hang up.
You can even attach a light to them.
What do you need?
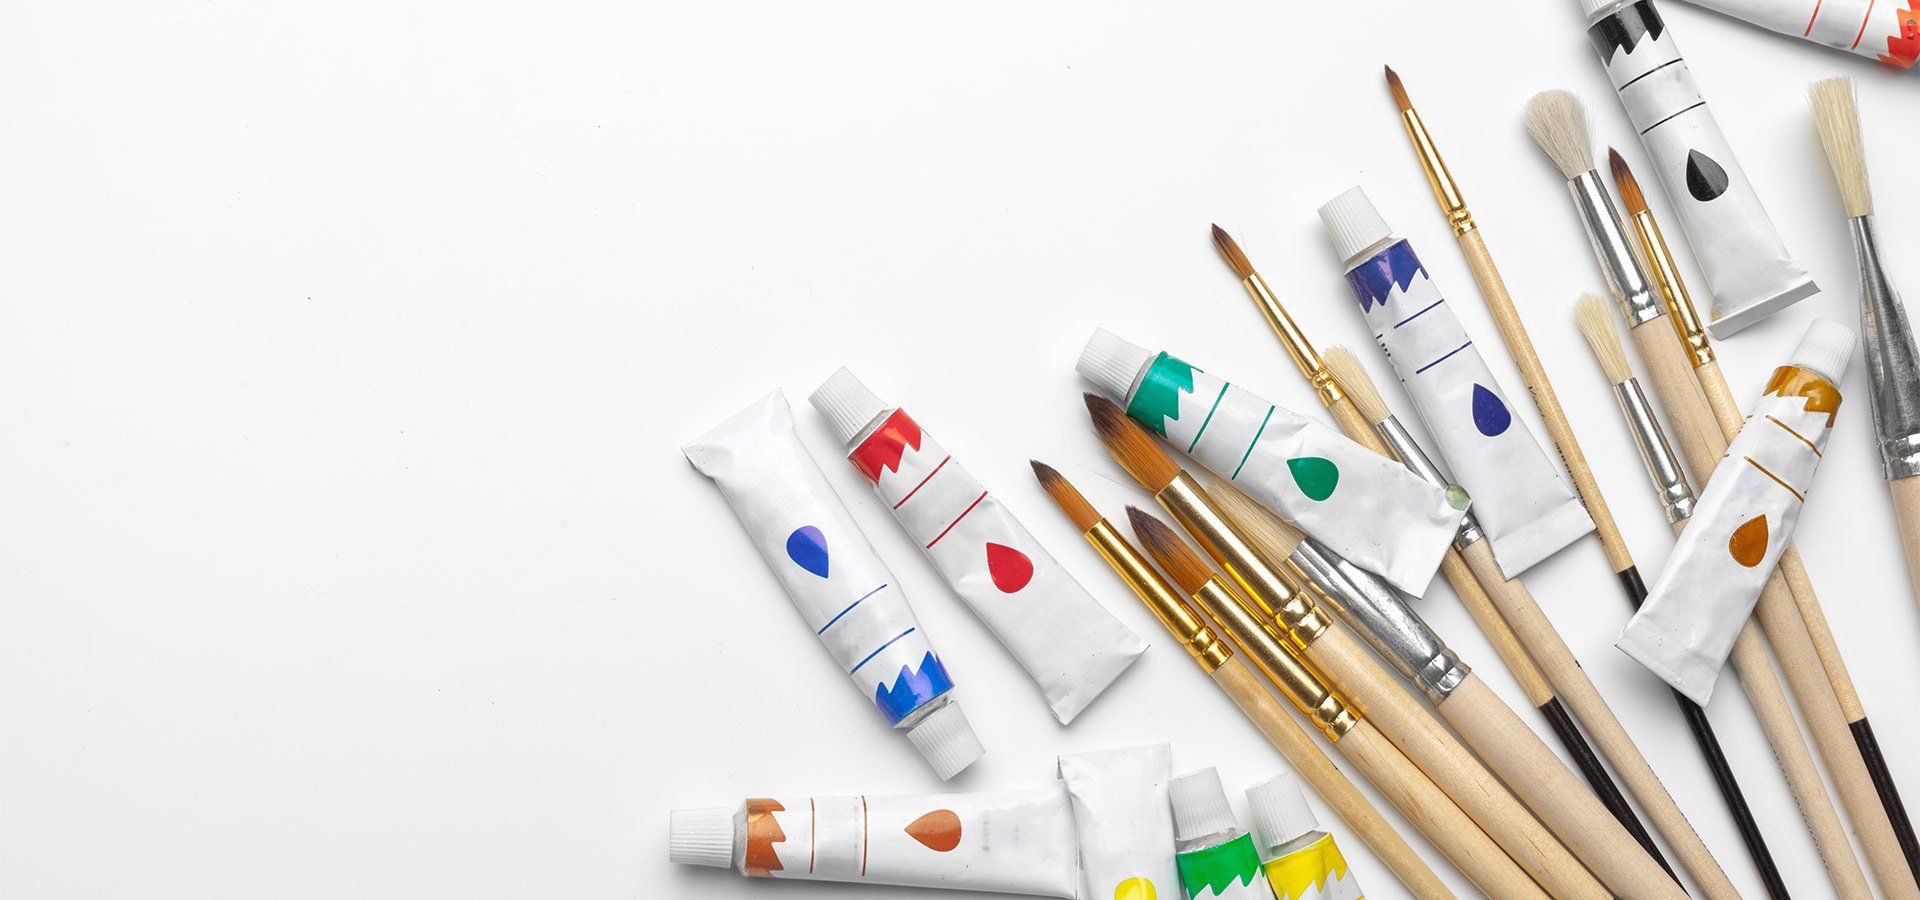
Self-hardening clay, any brand.
A clay roller, a plate or small bowl to draw a circle, a ball or piece of aluminum foil crumpled into a ball.
And of course, clay cutters for the eyes.
For the finishing touch, paint, napkins, and napkin varnish.
How do you proceed
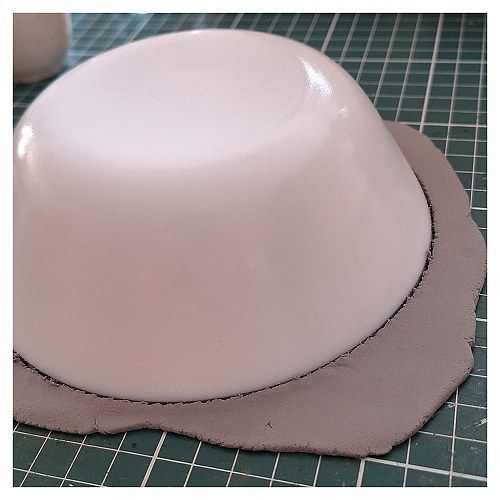
Roll the clay out nicely into a sheet of about 3-5 mm.
Cut out a nice circle. I used a small bowl.
Make a ball of aluminum foil and place it on a small pot. Drape the clay over it and shape it into a cute little ghost.
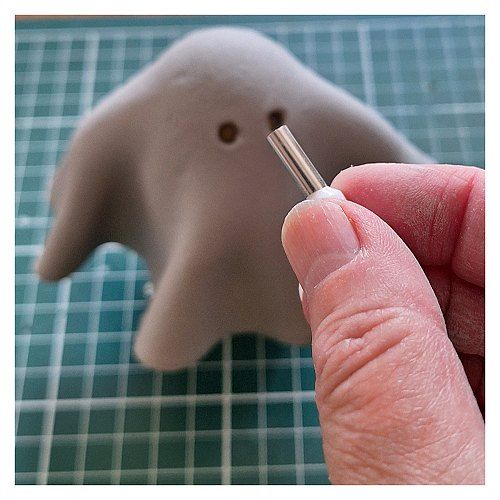
Don't forget to make an eye with a clay cutter. Let this dry thoroughly until the clay is completely hard. I let it dry for a few days.
You can now sand the clay edges if necessary.
I painted the clay with Americana paint from DecoArt.
Then you can start on the napkins.
Choose some nice small pictures; I used the autumn napkin set.
Cut out the pictures and remove all the layers, leaving just one thin layer.
Apply napkin varnish to the part of the ghost where you want the picture and carefully adhere it.
Once it's dry, apply another layer of varnish to the ghost, then cover the entire ghost with the varnish.
The varnish is available in high-gloss and semi-gloss.
Have fun making these fun ghosts.
Greetings, Agnes
Shopping list:
More hobby ideas? Read more